Mobile App Setup
Learn how to install and configure the TreeMapper mobile app on your iOS or Android device.
System Requirements
- iOS: iOS 13.0 or later, iPhone 6s or newer
- Android: Android 6.0 (API level 23) or higher
- Storage: At least 200MB of free space
- GPS: Device with GPS capabilities
- Camera: For photo documentation
Installation
iOS (iPhone/iPad)
- Open the App Store on your device
- Search for "TreeMapper"
- Tap Get or the download icon
- Authenticate with Face ID, Touch ID, or your Apple ID password
- Wait for the download and installation to complete

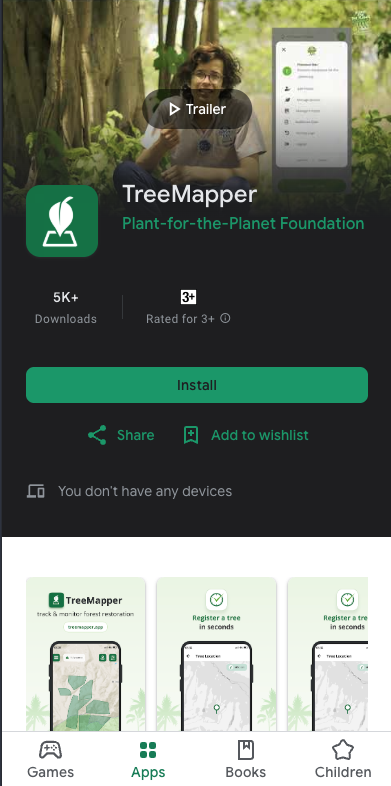
iOS App Store
Screenshot of TreeMapper in the iOS App Store
Android
- Open the Google Play Store
- Search for "TreeMapper"
- Tap Install
- Wait for the download and installation to complete
Google Play Store
Screenshot of TreeMapper in the Google Play Store
First Launch
When you first open TreeMapper, you'll need to complete these steps (sign-in is optional):
1. Grant Permissions
TreeMapper will request the following permissions:
- Location: Required for GPS tracking and mapping interventions
- Camera: Needed to take photos of trees and sites
- Storage: To save photos and offline map data
- Notifications: Optional, for sync status and reminders
Important
Location permission is required for TreeMapper to function properly. Without it, you won't be able to map tree locations or create interventions.
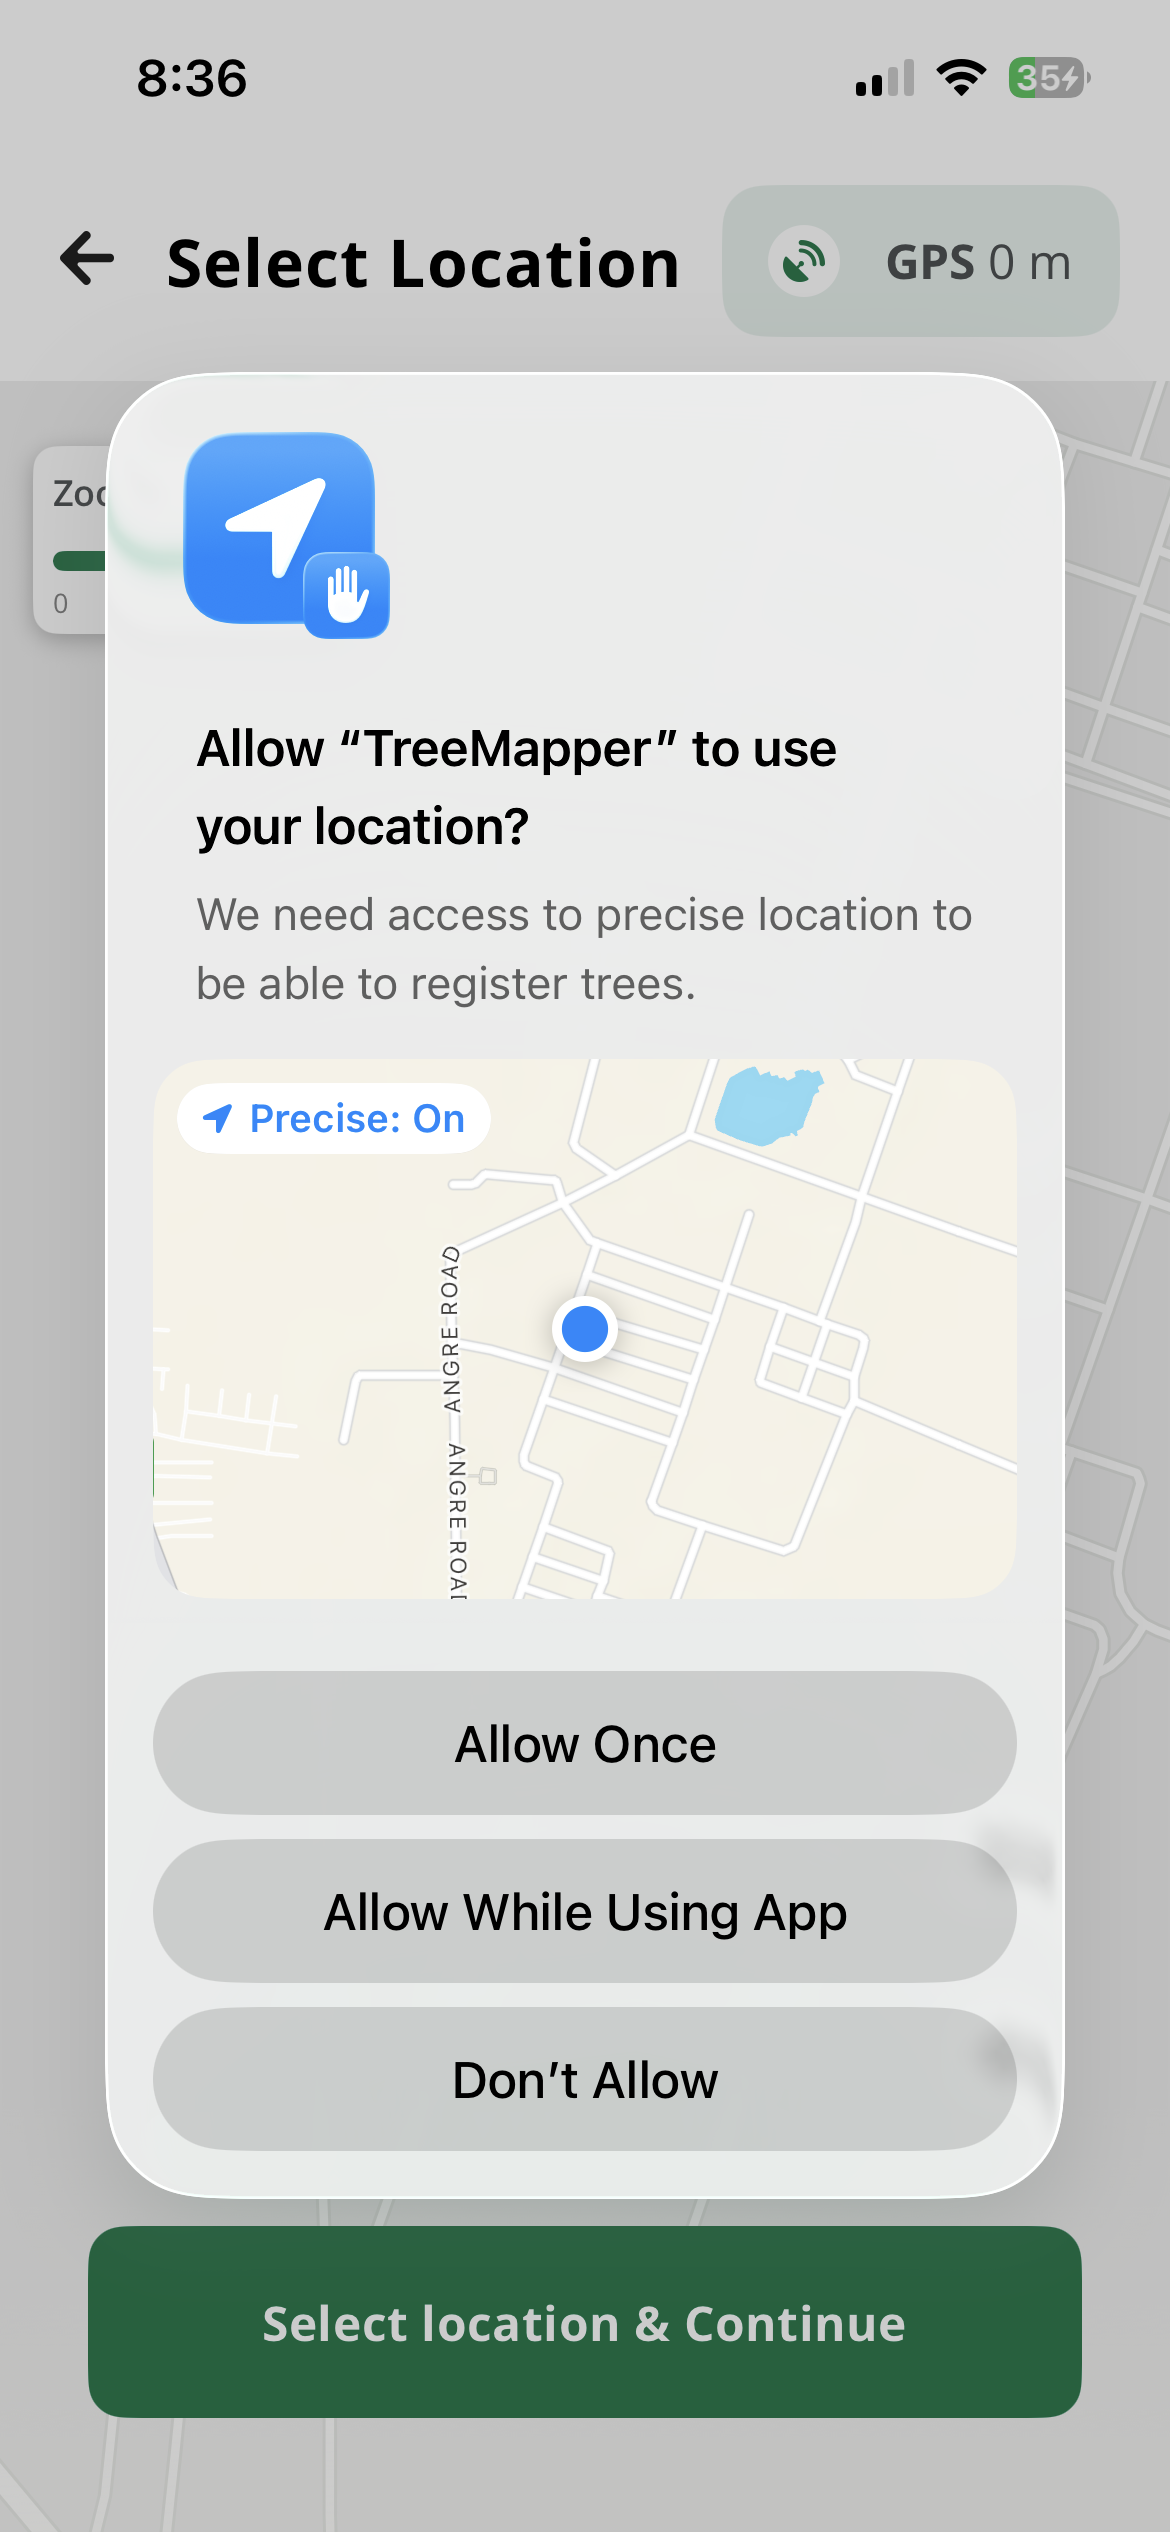
Location Permission
Screenshot showing the location permission dialog
2. Sign In (Optional)
TreeMapper can be used completely without signing in. You can collect data, take photos, and export your data directly from the app without any account.
Using TreeMapper Without Sign-In
You can use TreeMapper fully offline to collect tree planting data, take measurements, document with photos, and export your data. No account or internet connection required for data collection.
However, signing in unlocks additional features:
- Cloud Backup: Upload your data to secure cloud storage for backup and access from multiple devices
- Project Management: Create and manage projects, collaborate with team members, and organize your restoration activities
- Web Dashboard Access: View and analyze your data on the web dashboard with advanced analytics, reporting, and visualization tools
- Team Collaboration: Share data with your organization and work together on restoration projects
If you choose to sign in, you have two options:
- Sign In: If your organization has already created an account for you, use your credentials to sign in
- Create Account: Register a new account with your email address

Login Button
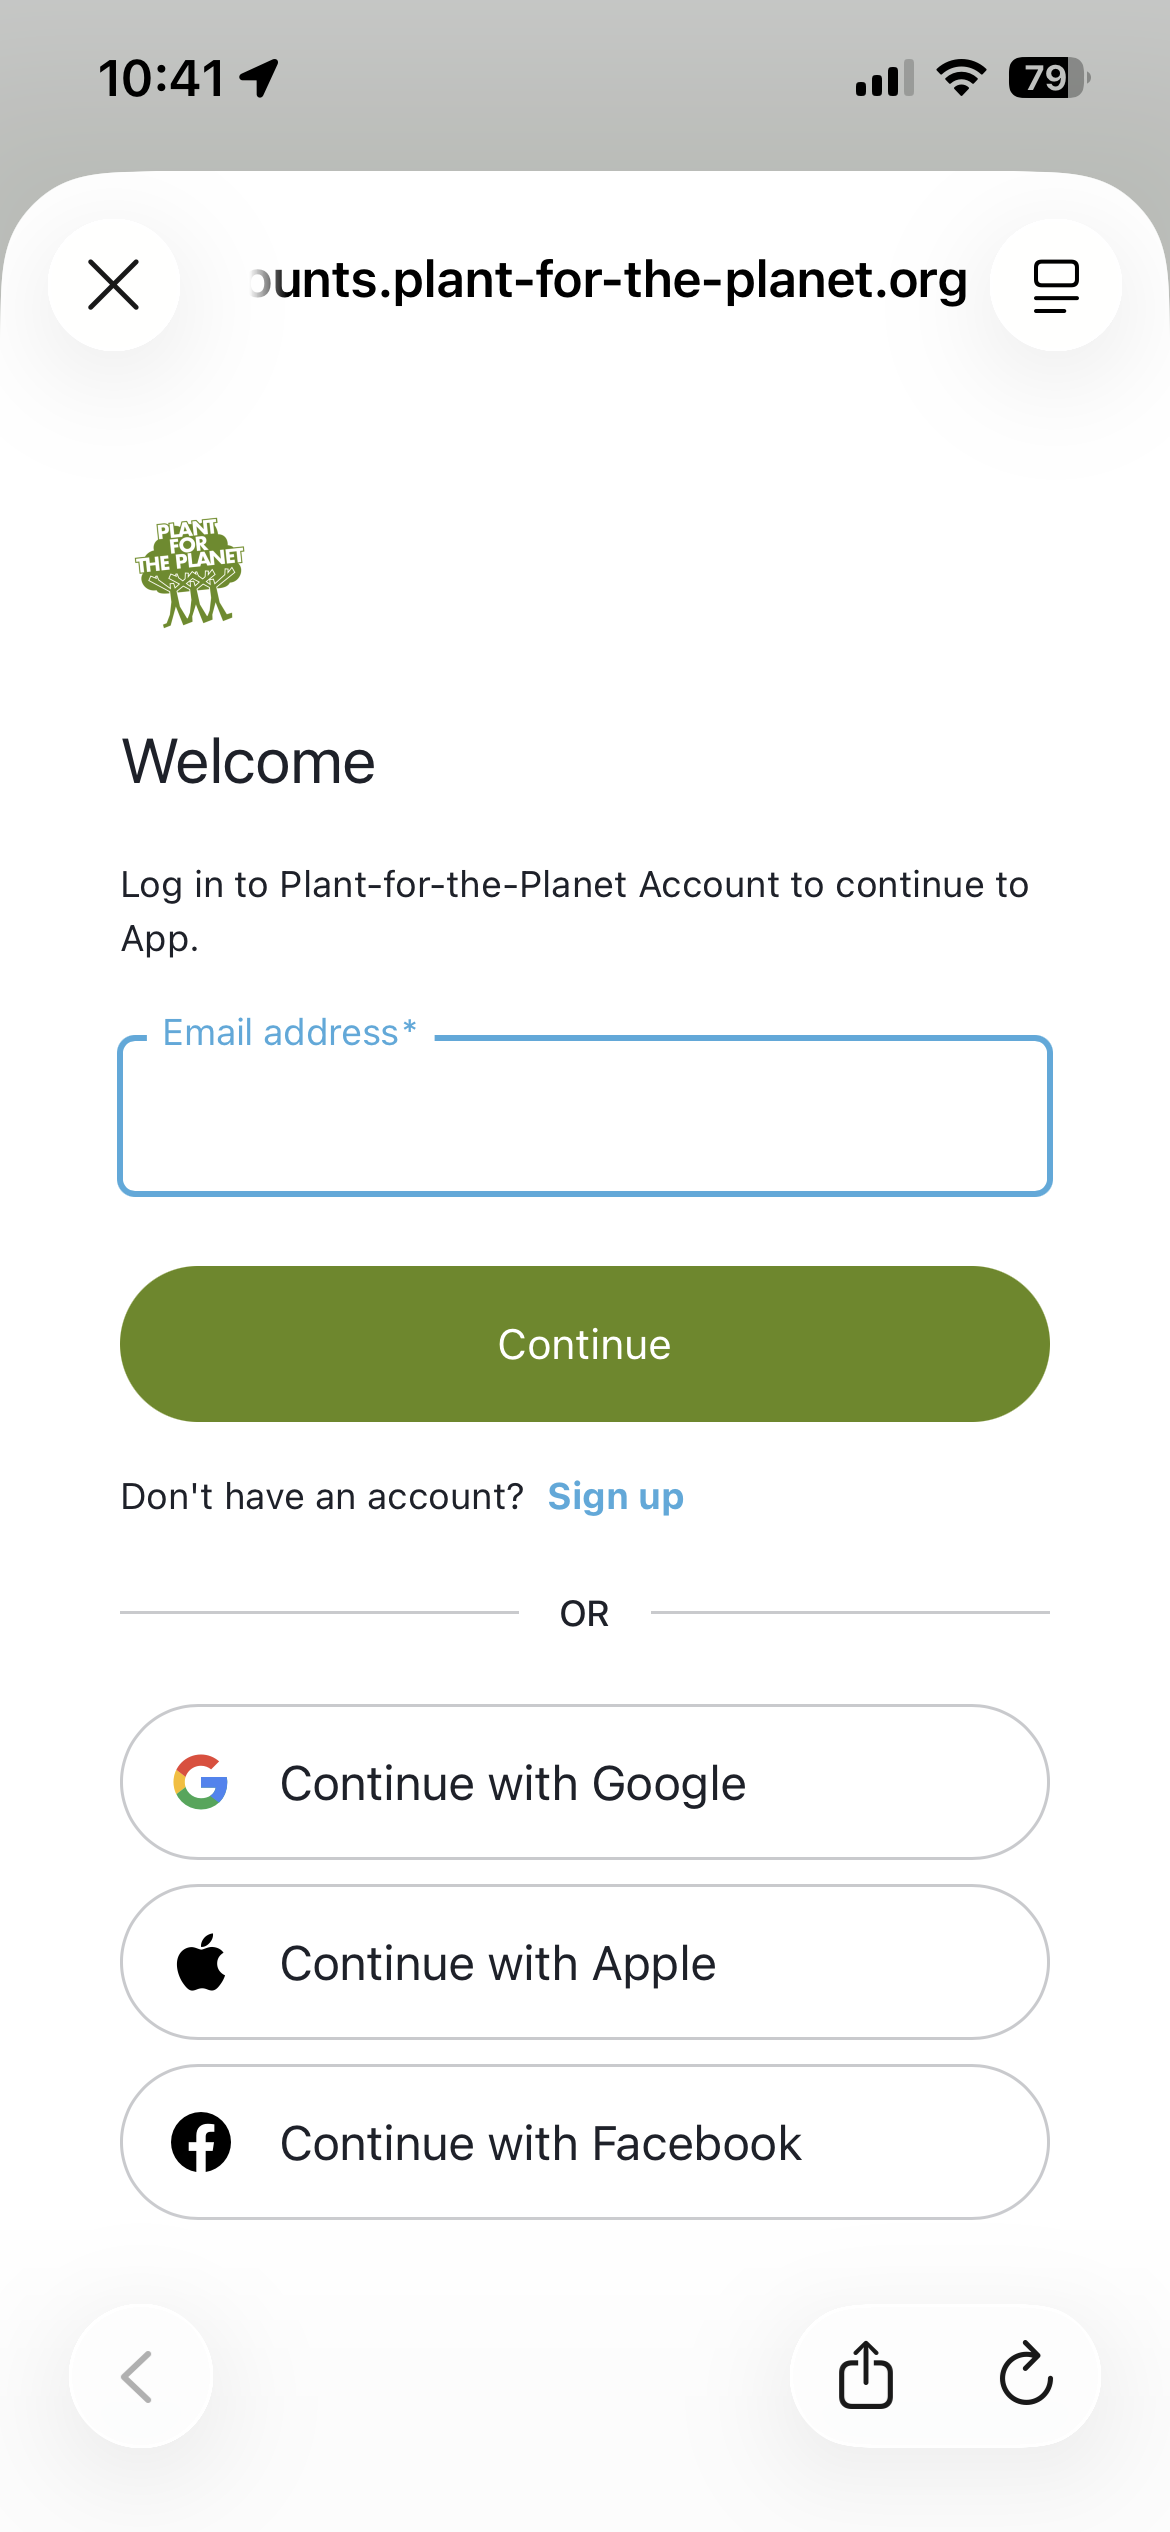
Login Page
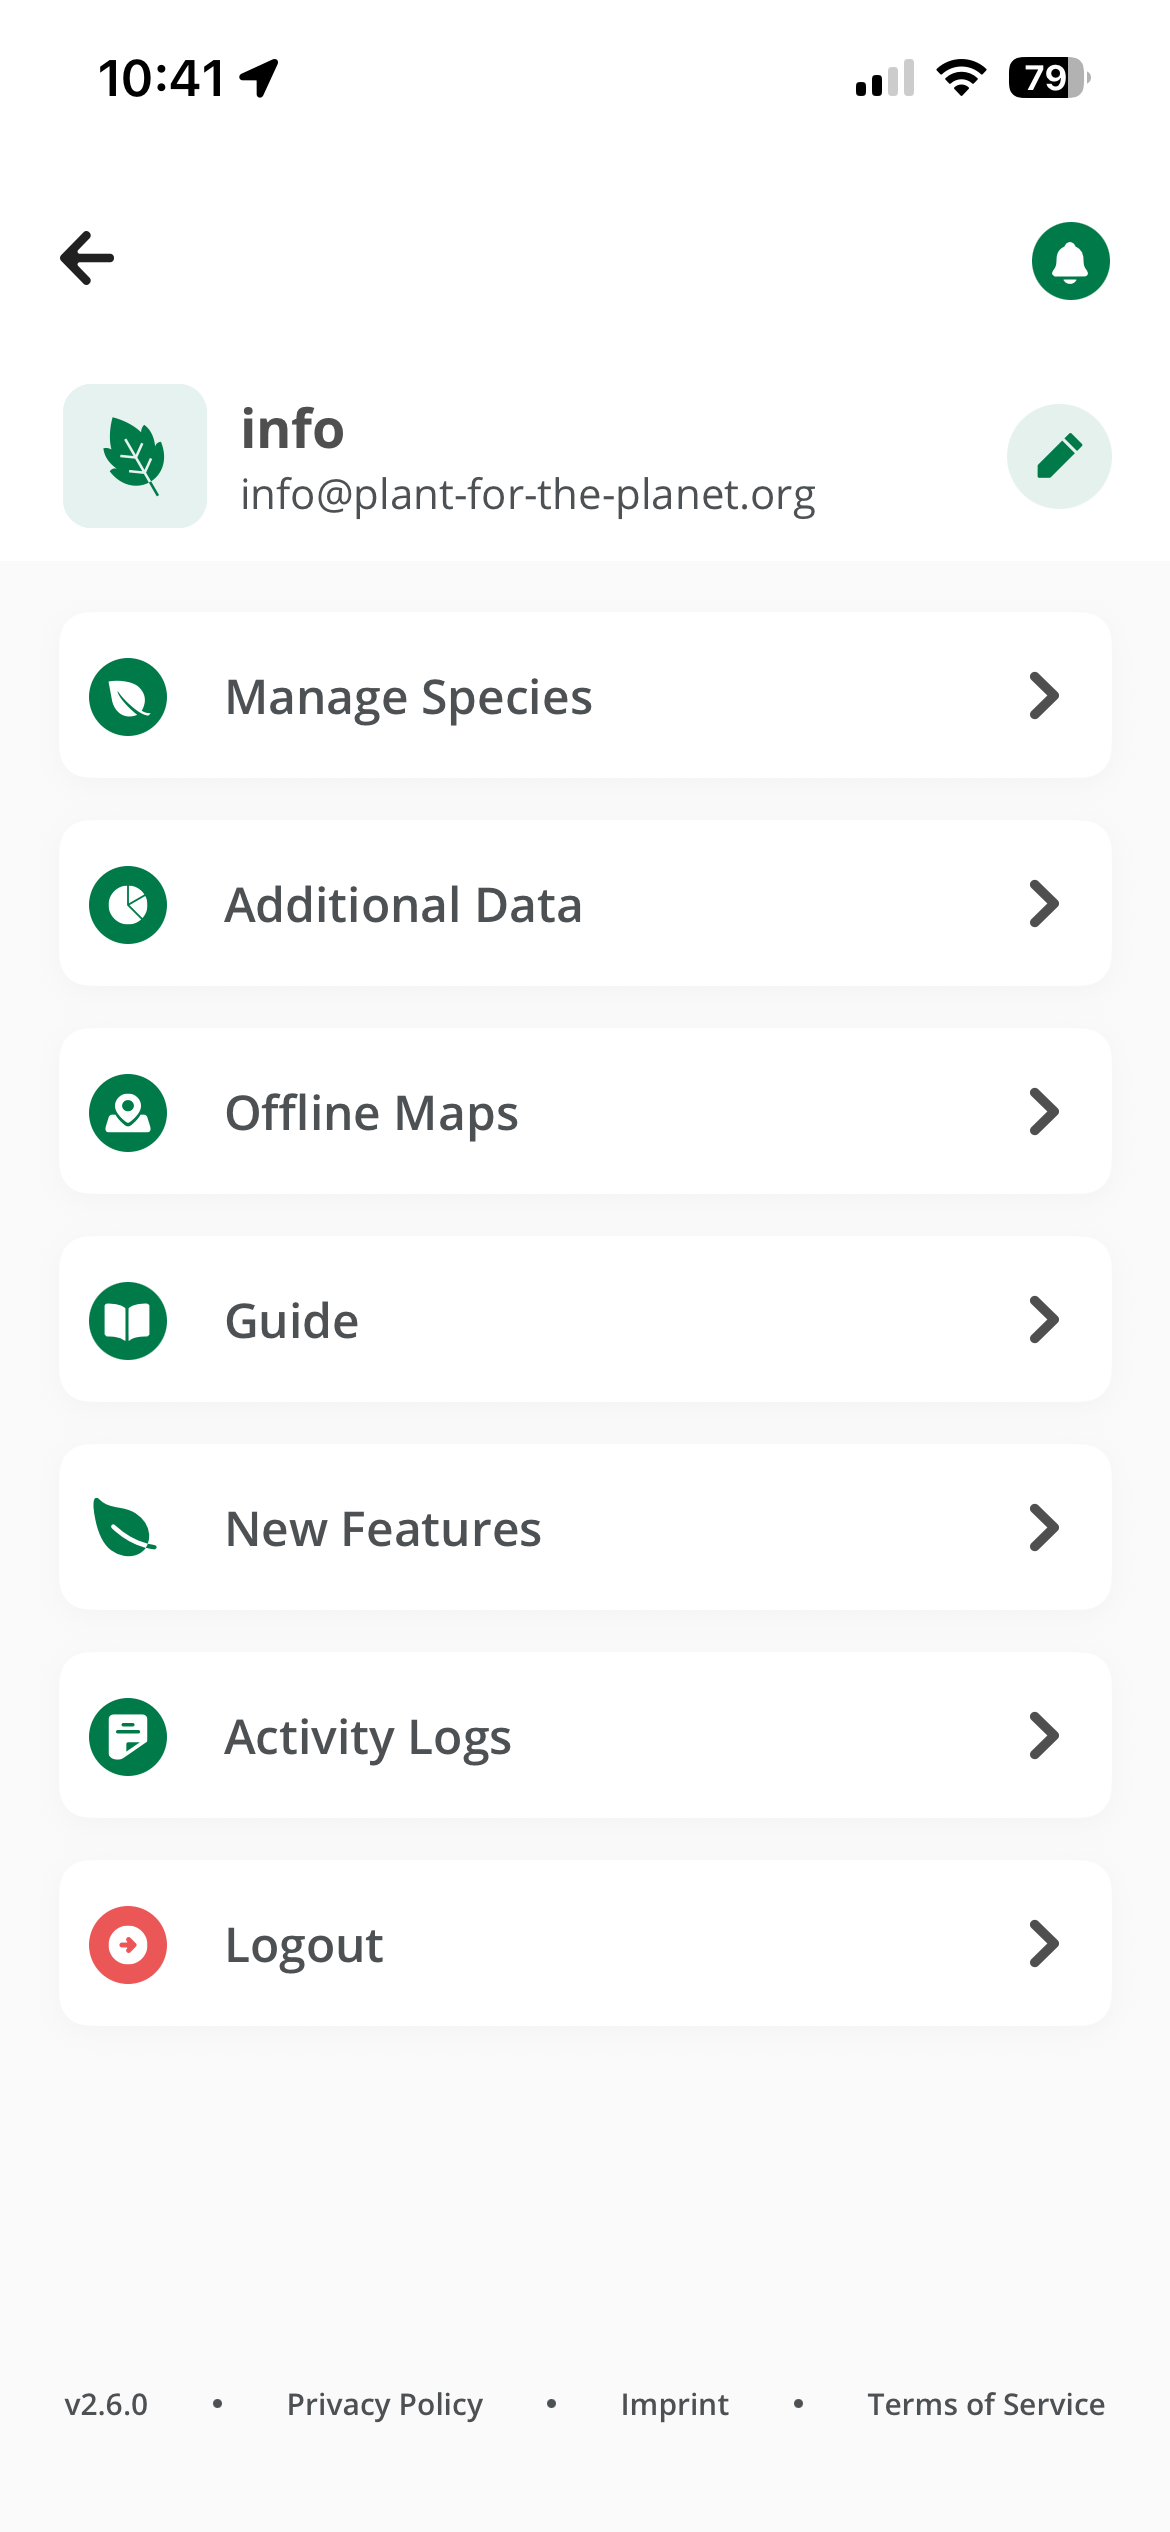
Sidebar After Sign-In
Login Button
Login Page
Sidebar After Sign-In
3. Select or Create a Project (If Signed In)
If you signed in, you'll need to select or create a project to work on. Projects are organizational units that group your tree planting and monitoring activities.
- If you were invited to a project, select it from the list
- If you're starting fresh, create a new project by tapping "Create Project"
Note: If you're using TreeMapper without signing in, you can skip this step and start collecting data immediately.
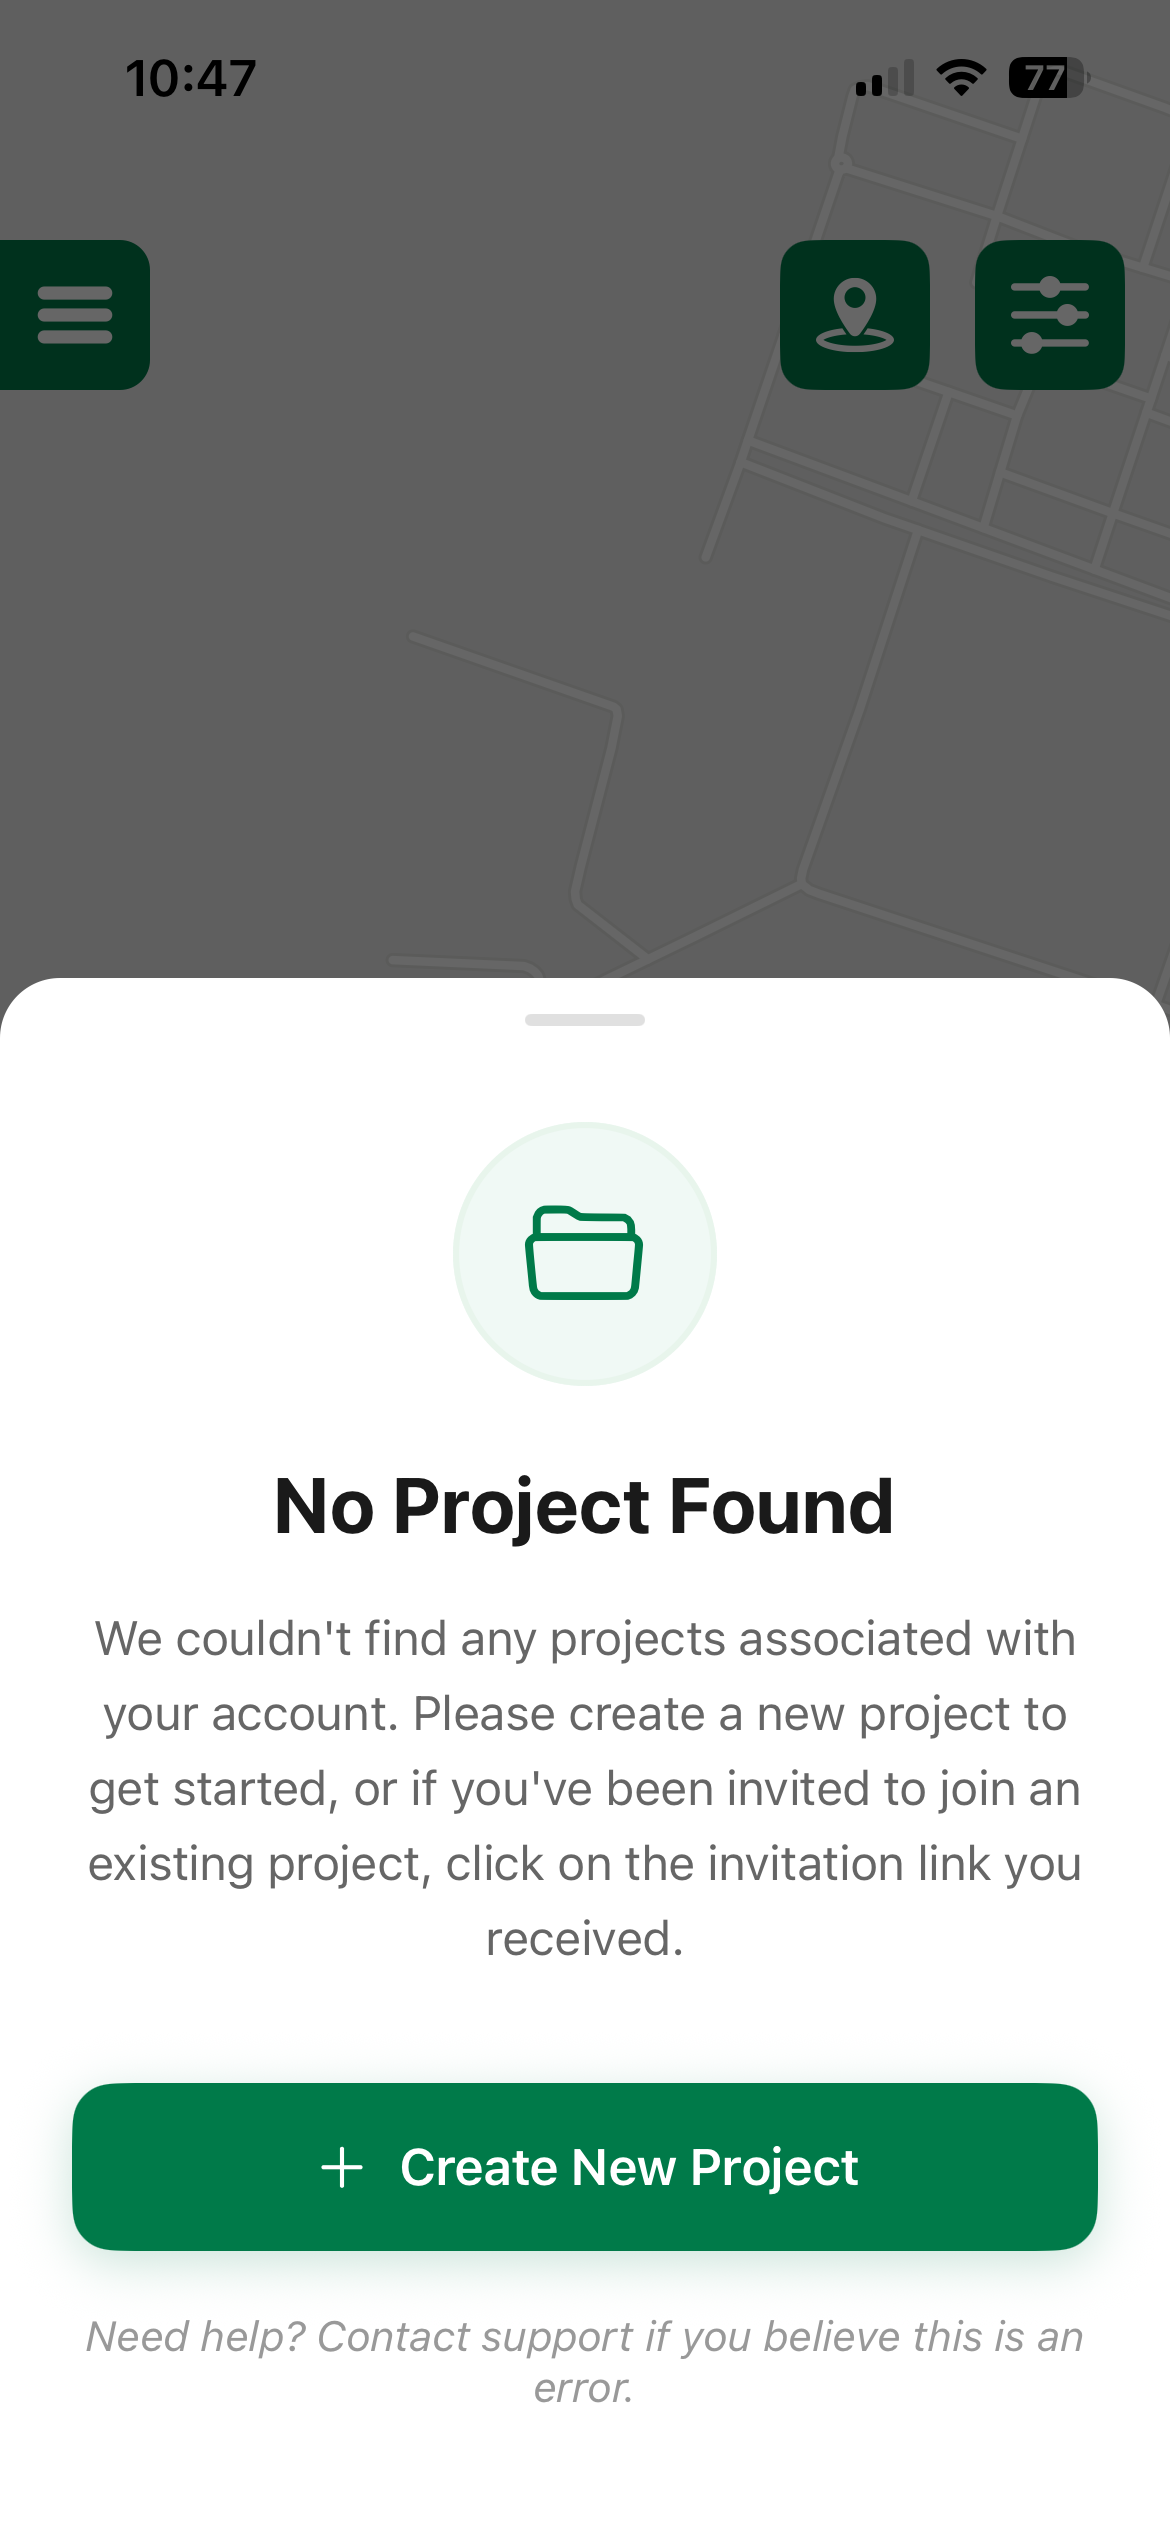
No project found
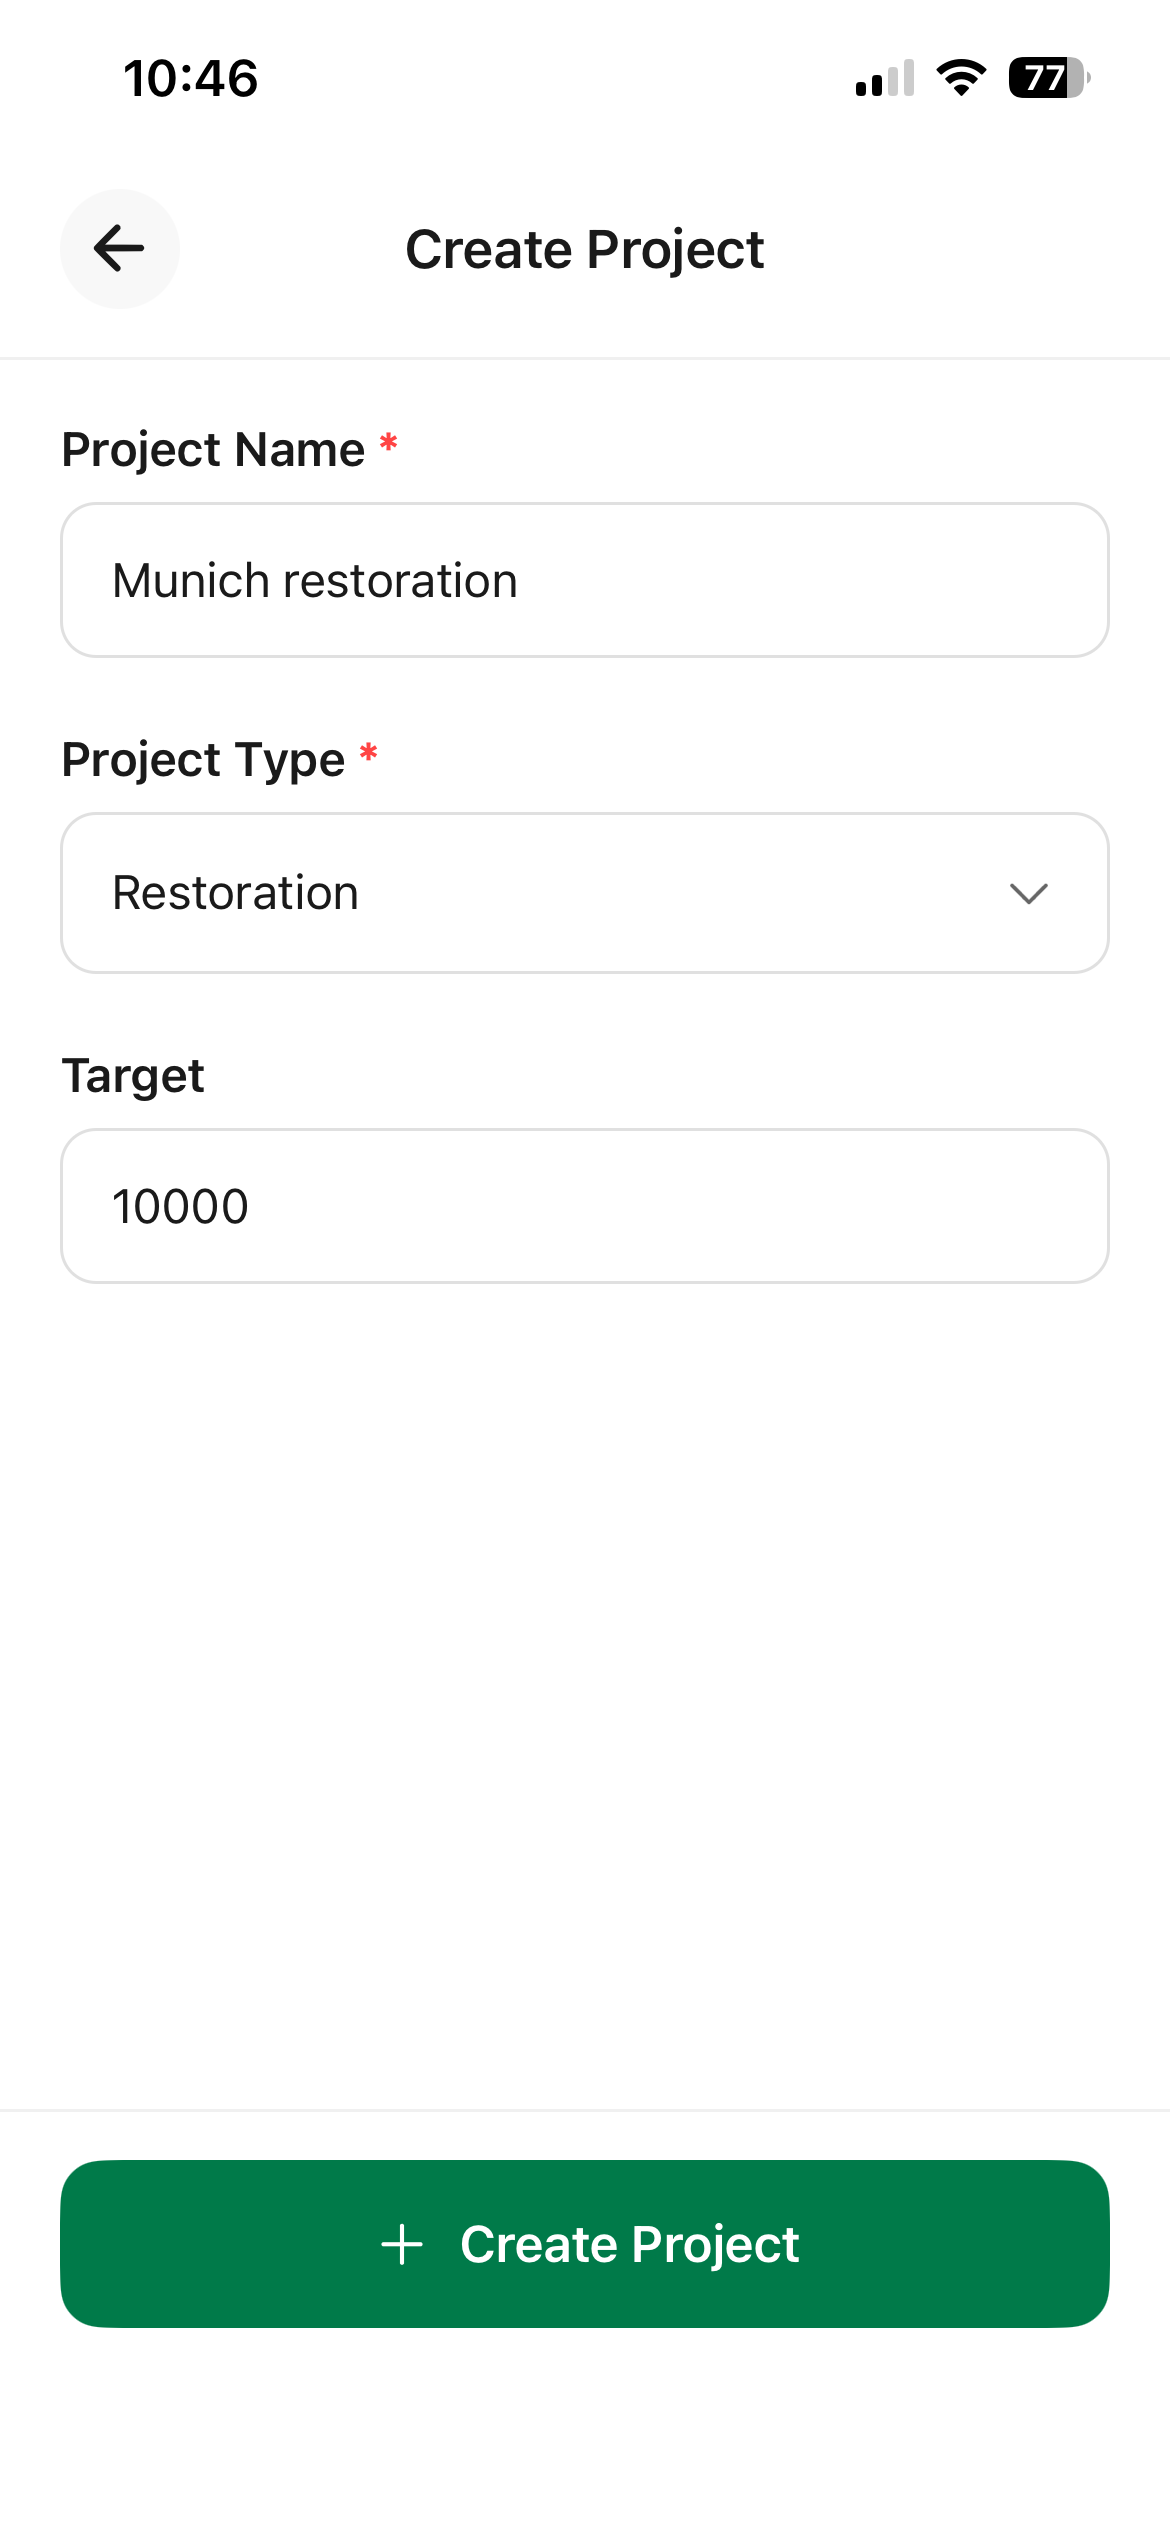
Create Project Page
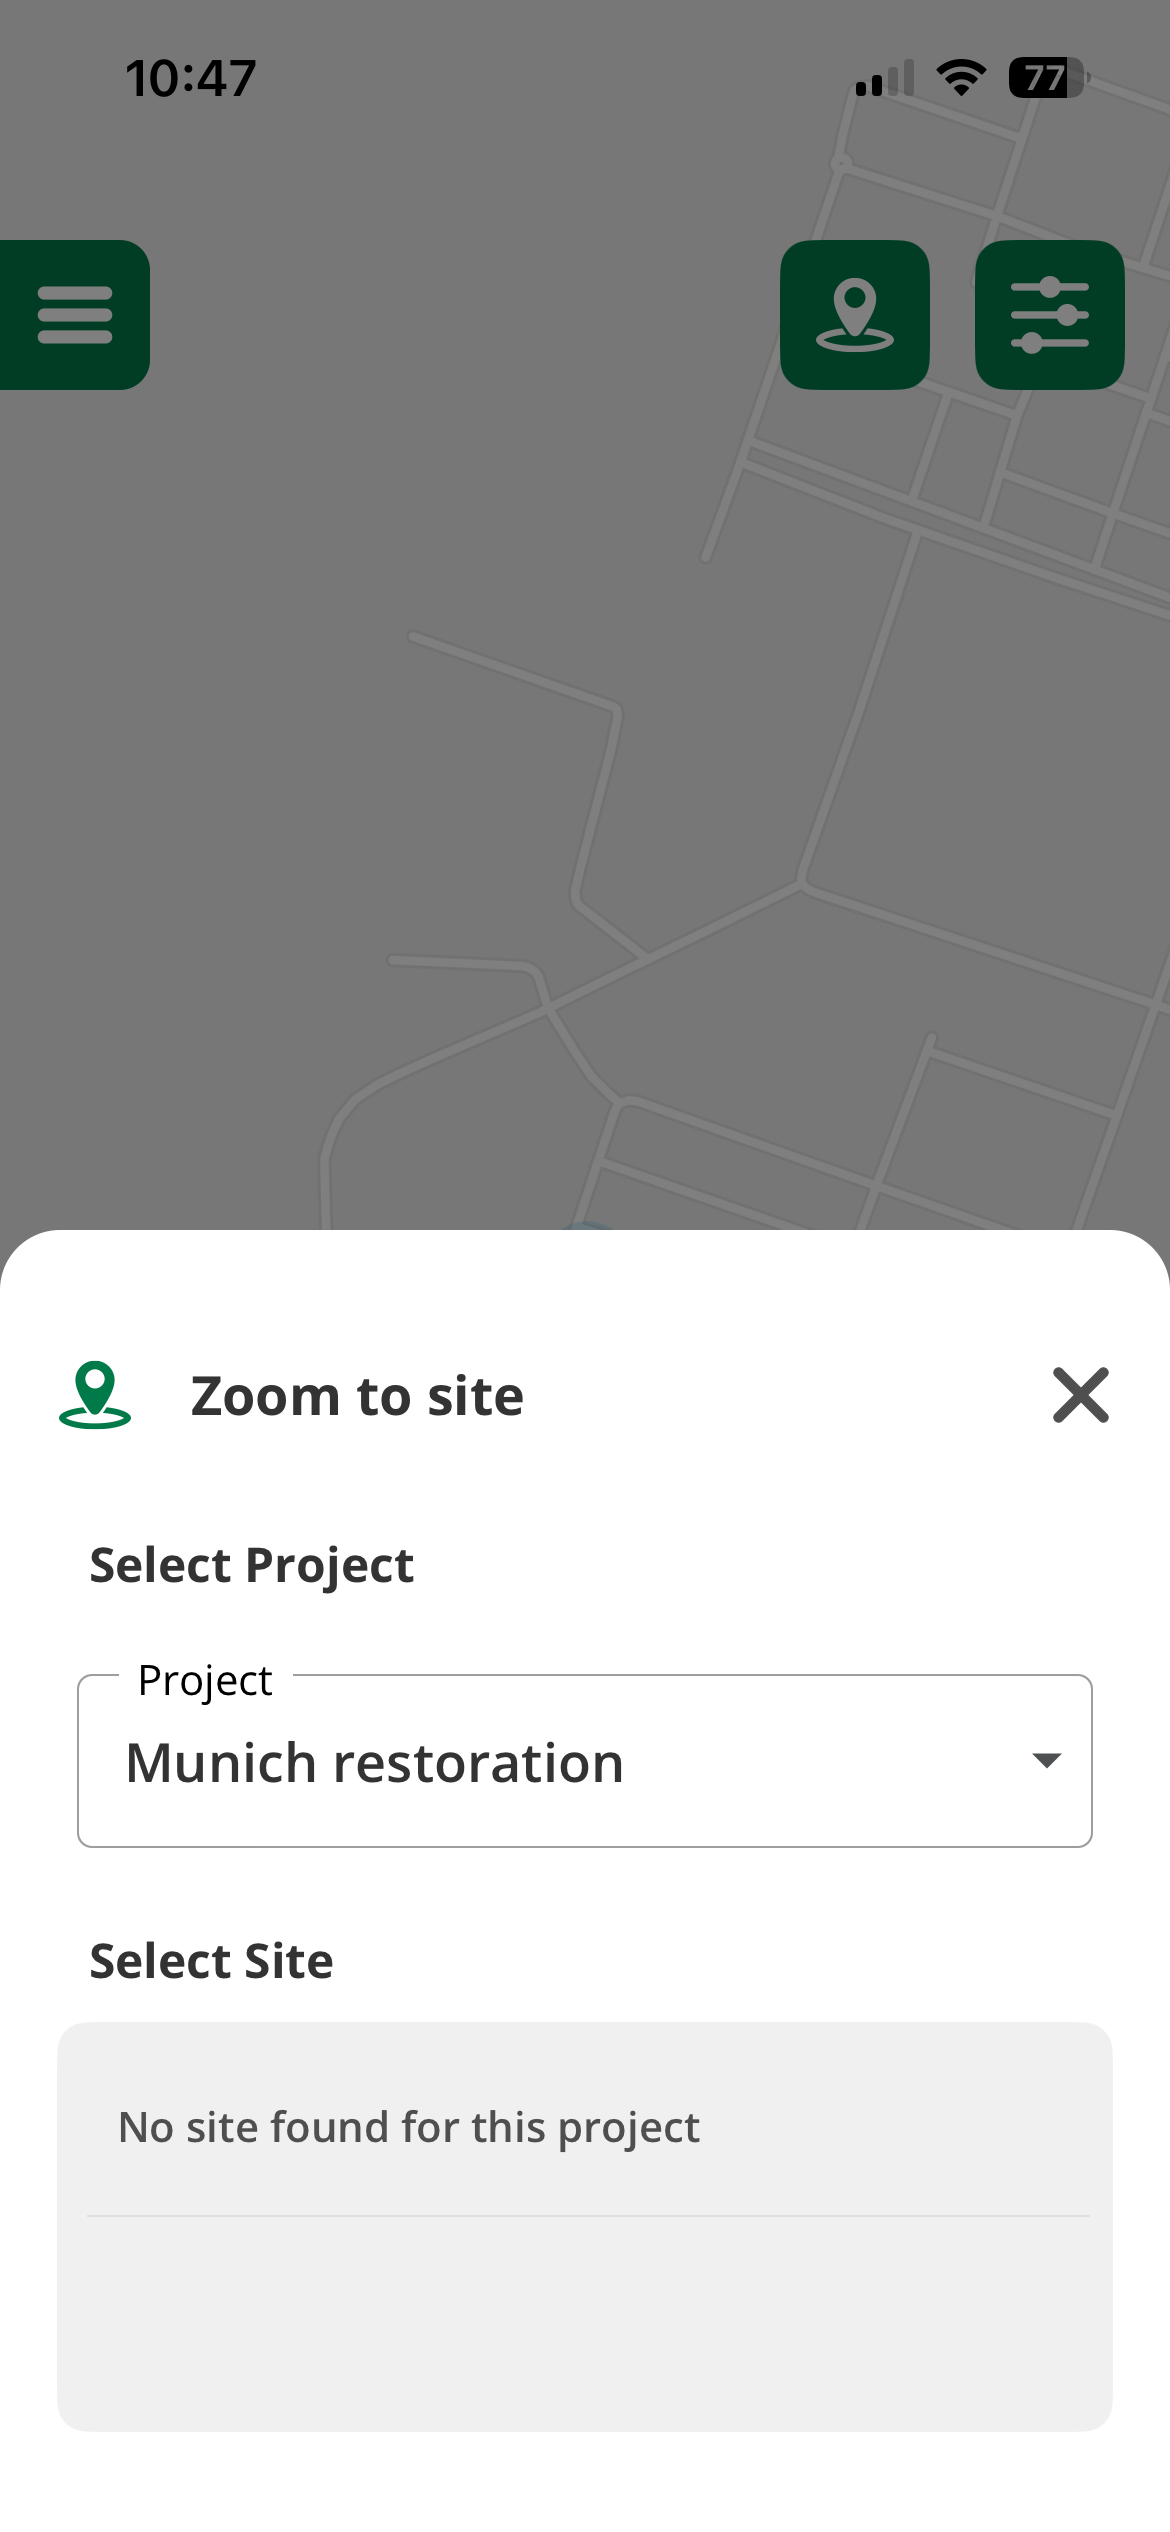
Select Project for intervention
No project found
Create Project Page
Select Project for intervention
Initial Configuration
Download Offline Maps (Recommended)
For the best experience when working in areas with poor connectivity, download offline maps before heading to the field:
- Open the sidebar menu (tap the ☰ icon)
- Go to Offline Maps
- Select your region on the map
- Tap Download
- Wait for the download to complete
Tip
Download maps while connected to Wi-Fi to avoid using mobile data. Map tiles can be several hundred megabytes depending on the area size.
Sync Species Database
The app will automatically download the tree species database on first launch. This database includes thousands of tree species with scientific names and details.
What's Next?
Now that your app is set up, you're ready to start using TreeMapper: